|
|
|
How to Adjust an Air Spray Gun Spray Pattern Last Updated: 09/11/2026 |
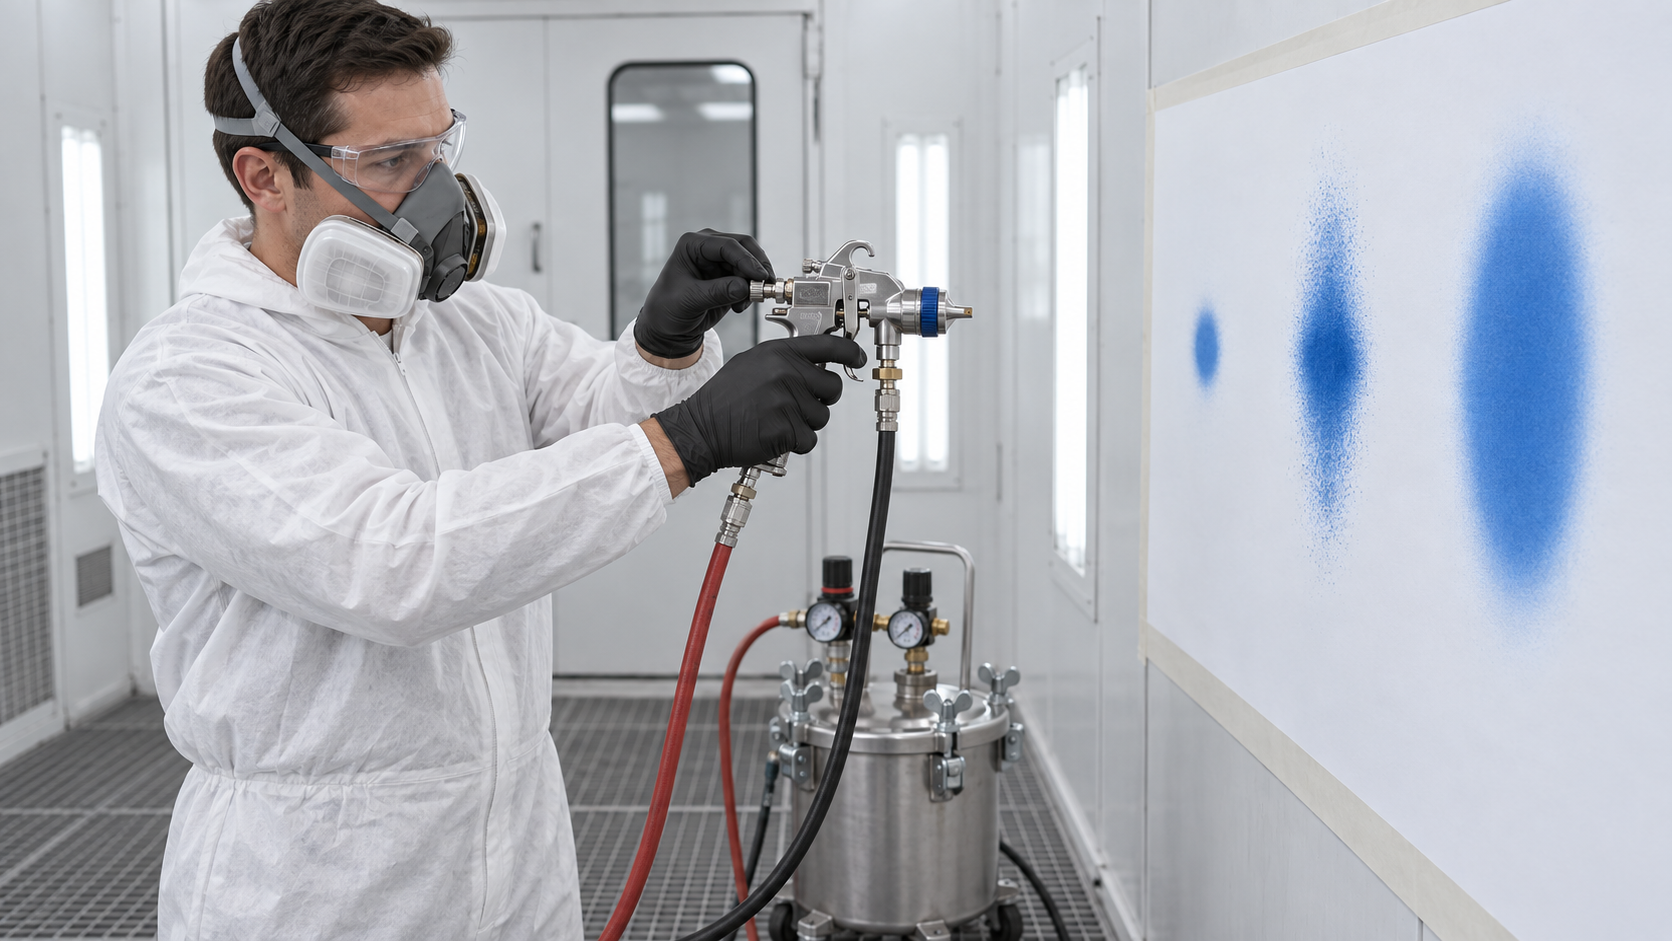 How to Adjust an Air Spray Gun Spray PatternLet the Spray Pattern Tell You What the Gun NeedsA pressure gauge can tell you how much pressure is in the system. It cannot tell you whether you're producing a good finish. Proper spray gun adjustment comes from understanding the relationship between material flow, atomizing air, fan width, gun distance, coating characteristics, and the appearance of the applied film. The numbers on the gauges give you a starting point. The spray pattern and the coating on the workpiece tell you where to finish the adjustment. Before You BeginBefore adjusting the spray pattern, become familiar with the spray gun and its controls. Depending on the gun, these may include:
Make sure the spray gun is assembled correctly, the air and fluid connections are secure, and the coating has been properly prepared according to the coating manufacturer's recommendations. Always follow the spray gun manufacturer's operating and safety instructions before pressurizing or adjusting the equipment. 1. Establish Material Flow FirstA good spray pattern starts with controlled material delivery. Begin with the fan or side-port control closed so that the gun produces a round pattern. With the fluid adjustment opened appropriately for the gun, trigger the spray gun and observe the material delivery. For a pressure-fed conventional air spray setup, the original AirSprayTech procedure used a solid fluid stream traveling approximately 30 inches as a practical starting reference before atomization was introduced. That is a starting reference, not a universal specification. Fluid pressure and flow requirements vary with coating viscosity, fluid nozzle size, hose configuration, production rate, and spray gun design. The objective is consistent, controllable material flow without using more fluid pressure than the application requires. 2. Open the Fan ControlOnce material delivery is established, gradually open the fan or side-port control. Trigger the gun while adjusting the control until you reach a fan width appropriate for the workpiece. A wider fan is not automatically better. The correct fan should provide good coverage and control for the size and geometry of the part being finished. 3. Establish Atomizing AirNow introduce enough atomizing air to break the coating into a consistent spray. For some conventional air spray applications, approximately 35 PSI may be a useful starting point. It should not be treated as the correct setting for every gun, air cap, coating, or spray technology. HVLP, reduced-pressure, low-CFM, conventional, and other air spray technologies can have very different air requirements. Always begin with the spray gun and air-cap manufacturer's recommendations, then make the final adjustment based on actual atomization and film quality. 4. Examine the Spray PatternUse a clean test surface or spray-out card before spraying the actual workpiece. A momentary test pattern can help you evaluate pattern shape and material distribution. A moving pass can then help you evaluate how the coating actually lays down. Look for:
If the pattern isn't right, don't immediately assume the gun needs more pressure. The cause may involve air pressure, fluid flow, viscosity, the air cap, fluid nozzle, contamination, worn components, or the relationship between several of those factors. 5. Evaluate the Applied FilmA spray pattern can look acceptable in the air and still produce a poor finish. That's why the next test is the one that matters most: look at the coating on the surface. Using the gun-to-target distance recommended for your spray gun and application, make a controlled pass across a test surface. For many hand-held air spray applications, a working distance somewhere around 8 to 12 inches may be common, but the correct distance depends on the gun, air cap, coating, part geometry, and application. Evaluate:
This is where the final setup decisions should be made. 6. Make One Adjustment at a TimeWhen the finish isn't right, resist the temptation to change everything at once. Change one variable, spray another test, and observe what happened. You may need to adjust:
Changing one thing at a time helps you understand what actually improved or worsened the result. The Gauge Is a Reference, Not the FinishThis was one of the most important lessons in the original AirSprayTech Tech Corner, and it's worth repeating. Don't become so focused on the number on the regulator that you stop looking at the work. A pressure gauge is an important setup and diagnostic tool. Use it to establish repeatable settings and stay within equipment requirements. But 35 PSI doesn't automatically produce a good finish, and another number isn't automatically wrong. Different coatings, air caps, fluid nozzles, spray guns, production requirements, environmental conditions, and finishing trades require different setups. Use the gauge to know where you are. Use the spray pattern and applied film to determine whether you are where you need to be. A Good Setup Is a BalanceWhether you're finishing cabinets and millwork, coating an OEM product, refinishing a vehicle, spraying fabricated metal, applying an industrial coating, or performing another professional finishing operation, the basic principle remains the same. The objective is not maximum air pressure. It is not maximum material flow. And it is not necessarily the widest possible fan. The objective is to balance air, material, pattern, technique, and coating characteristics until the spray gun produces the finish the application requires. Let the finish tell you what the equipment needs. Finishing Starts With Understanding.
AirSprayTech.com Tags:
spray pattern adjustment, spray gun setup, air spray gun, atomization, spray gun pressure, fan adjustment, fluid pressure, spray technique, coating application, spray gun adjustment
|