AirSprayTech.com Academy — Finish Defect Diagnostic Center
The Invisible Bond Breaker: Diagnosing Amine Blush
A cured epoxy can look acceptable while a thin waxy film sits on its surface. Left in place, amine blush can clog abrasives, distort appearance, and create a weak boundary beneath the next coat, adhesive, fairing compound, varnish, or laminate.
What Amine Blush Looks Like
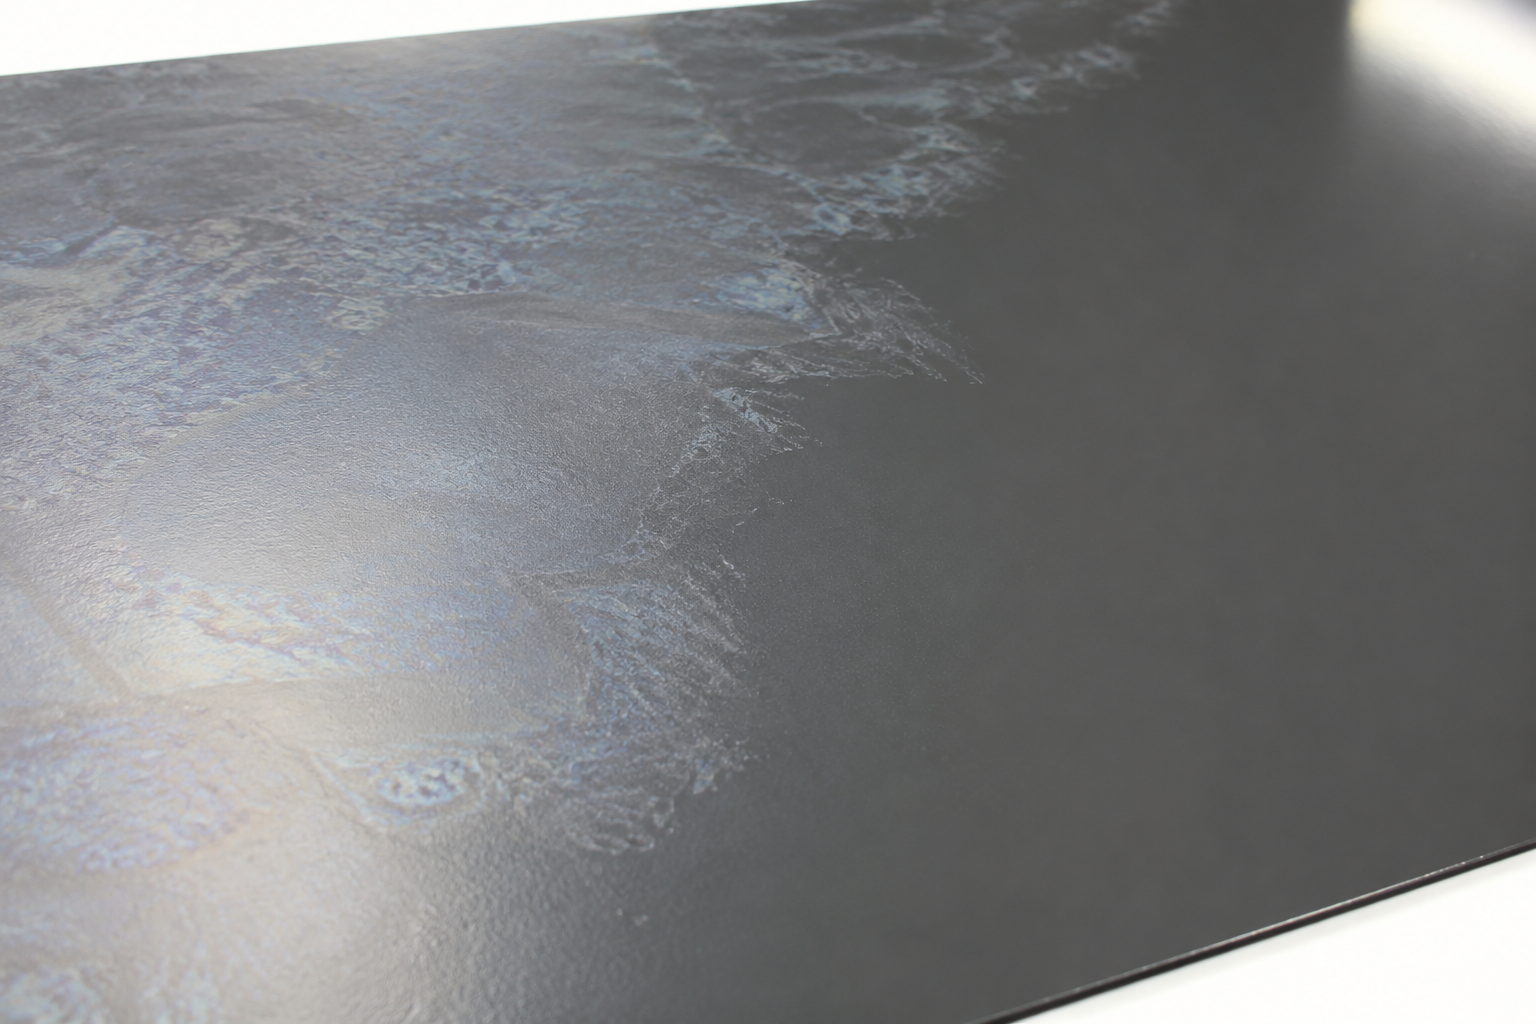
Blush may appear as a whitish haze, dull patch, oily-looking smear, faint iridescent film, or uneven gloss. On light-colored or matte epoxy it may be difficult to see. A gloved fingertip may detect a greasy or wax-like feel, but touch alone is not proof and can contaminate the surface.
The residue is normally located at the air-facing surface. It may be uniform or concentrated in cool areas, heavy-film regions, low-airflow zones, overnight work, or locations exposed to higher humidity. Its presence does not automatically mean the epoxy beneath failed to cure, but cure must be confirmed before washing, sanding, or recoating.
How Amine Blush Forms
Epoxy resin reacts with an amine hardener during cure. Depending on the formulation and environment, amine-related compounds at the surface can react with atmospheric moisture and carbon dioxide and leave a water-soluble deposit. The precise behavior varies significantly among resin-and-hardener systems.
Environmental Contributors
- Cool temperatures slow cure and extend the time the surface remains vulnerable.
- High relative humidity supplies moisture at the curing surface.
- Condensation, dew-point violations, damp substrates, or unvented areas intensify the problem.
- Temperature drops overnight can create a different surface condition from daytime application.
Material and Process Contributors
- Some hardener chemistries are more prone to visible blush than others.
- Incorrect mix ratio, incomplete mixing, or unsuitable component pairing complicates cure and diagnosis.
- Heavy film, pooled areas, short induction, or improper cure conditions can change surface behavior.
- Contaminated tools, water, cleaners, heaters, or compressed air may add a separate residue.
Pattern-Based Troubleshooting
| Observation | Likely Direction | What to Check |
|---|---|---|
| Waxy or greasy film appears after overnight epoxy cure | Possible amine blush, especially in cool and humid conditions | Product chemistry, hardener, air and surface temperature, humidity, cure time, and manufacturer guidance |
| Residue is most visible in low or cold areas | Local temperature, condensation, airflow, or thicker film influenced surface cure | Dew point, substrate temperature, ventilation, geometry, drainage, and film thickness |
| Sandpaper clogs or smears immediately | Blush remains, coating is under-cured, or both conditions exist | Stop sanding; verify cure, perform approved water washing, dry, and reevaluate |
| Topcoat peels cleanly from otherwise sound epoxy | Blush, missed preparation, exceeded recoat window, contamination, or incompatibility | Failure plane, preparation records, wash water, abrasion, dust removal, and product compatibility |
| Film returns after washing | Incomplete removal, contaminated rinse, continued cure by-products, or another migrating material | Water quality, tools, rinse and drying technique, cure stage, plasticizer, wax, cleaner, and laboratory identification |
| Surface is milky but not removable with water | Embedded moisture blush, incomplete cure, chemical attack, or haze within a layer | Coating type, cross-section, cure, exposure, solvent sensitivity, and whether the defect is truly on the surface |
Why Amine Blush Matters
- Intercoat adhesion: the next coating may bond to the residue instead of to sound epoxy.
- Secondary bonding: adhesives, fiberglass laminates, fairing compounds, and repair resin can develop a weak interface.
- Appearance: blush can create haze, patchy gloss, streaks, or printing beneath clear and high-gloss finishes.
- Abrasion: sanding before removal can load paper and spread residue over a larger area.
- Testing: surface residue may interfere with wetting, coating application, and interpretation of adhesion or cleanliness checks.
Amine Blush Versus Similar Conditions
- Solventborne blushing or blooming: moisture becomes trapped in the wet film as fast evaporation cools it. The haze is often within the coating rather than a water-soluble epoxy by-product on top.
- Incomplete cure: the epoxy itself remains soft, tacky, weak, or solvent-sensitive. Washing may remove blush but cannot correct an improperly mixed or stalled film.
- Chalking: weathered binder releases pigment powder. Amine blush forms during cure and is commonly waxy rather than dry and powdery.
- Wax or mold release: external contaminants may resemble blush but require identification and a compatible removal method.
- Plasticizer or additive migration: mobile ingredients may return after cleaning and may not be water-soluble.
- Salt contamination: crystalline or invisible salts can dissolve in water but originate from the substrate or environment, not epoxy cure chemistry.
- Condensation residue: water may leave minerals, dirt, or cleaner deposits that mimic a pale surface film.
A Practical Investigation Procedure
- Hold the next operation. Do not sand, solvent-wipe, bond, laminate, or overcoat until the surface and cure state are understood.
- Document the condition. Photograph the area under diffuse and low-angle light. Map affected and clean-looking areas.
- Confirm the epoxy system. Record resin, hardener, batch, mix ratio, induction, pot life, film thickness, application time, and cure instructions.
- Reconstruct the environment. Review air and surface temperature, humidity, dew point, ventilation, condensation, and changes during the complete cure period.
- Confirm cure separately. Use the manufacturer’s specified time, hardness, solvent resistance, or other approved method. Do not mistake a hard surface for proof of complete through-cure.
- Run a controlled wash trial. On a small documented area, use the epoxy manufacturer’s specified clean water, pad, detergent if allowed, rinse, and drying procedure.
- Evaluate removal. Compare feel, appearance, water break, gloss, and wipe behavior before and after washing. Replace dirty water, pads, and towels so residue is not redeposited.
- Inspect the intended bond. If coating failure has already occurred, examine both sides and identify whether separation is at the blush-contaminated epoxy interface.
- Escalate uncertain cases. Manufacturer review or laboratory analysis may be needed when residue persists, the epoxy is soft, or critical adhesion is involved.
The Correct Cleaning Sequence
Water is important because amine blush is commonly water-soluble. An organic solvent may not remove it and can spread contamination or introduce residue from rags. Sanding first can grind the film into the surface and clog the abrasive. Soap, ammonia, bleach, or proprietary cleaner should be used only when the epoxy manufacturer permits it.
Use clean water of suitable quality, clean pads, and disposable lint-free paper or approved towels. Work in manageable sections. Prevent dirty wash water from drying back onto the surface. After drying, verify cleanliness and complete the specified abrasion, dust removal, recoat-window, and compatibility requirements.
Correcting an Affected System
If blush is found before recoating and the epoxy is sound and fully cured, proper washing and preparation may be sufficient. If another coat has already been applied over the residue, determine whether intercoat adhesion is acceptable. Do not assume that a visually sound topcoat has a durable bond.
Loose, peeling, blistered, soft, or poorly bonded material must be removed to a sound boundary. Correct the cure environment and mixing process, clean the epoxy using the approved sequence, prepare the surface, and rebuild the compatible system. For immersion, containment, structural bonding, marine laminates, floors, tanks, and critical repairs, obtain a written disposition.
Preventing Amine Blush Problems
- Select the epoxy and hardener appropriate for the temperature, humidity, application, and finish requirements.
- Condition material and substrate within the manufacturer’s specified range.
- Maintain the required dew-point margin and prevent condensation throughout cure.
- Measure components accurately and mix thoroughly, scraping the container sides and bottom.
- Observe induction, pot life, film thickness, recoat window, and cure time.
- Provide controlled ventilation without contaminating or overcooling the surface.
- Assume the required wash step applies unless the product instructions explicitly state otherwise.
- Train crews to wash before sanding when blush is possible.
- Use clean water, pads, towels, abrasives, and dust-removal equipment.
- Document preparation before each topcoat, laminate, adhesive, or repair layer.
Testing and Verification
No universal field test identifies every amine-blush formulation. Water solubility, waxy feel, timing, environment, and manufacturer knowledge provide useful evidence, but laboratory analysis may be required. A water-break observation can support cleanliness assessment but does not prove chemical identity or complete cure.
ASTM D3359 provides tape-test methods for rating adhesion within its scope. Adhesion testing should follow the project specification and coating limitations; it does not replace correct surface preparation or determine by itself that amine blush caused a failure.
Technical References
- WEST SYSTEM: Epoxy Surface Preparation and Amine-Blush Removal
- System Three Resins: Why Epoxy Blushes
- Interlux: Amine Blush and Its Effect on Subsequent Coatings
- ASTM D3359: Rating Adhesion by Tape Test
© 2026 Azimuth Spray Systems, LLC. AirSprayTech.com — The Finishing Authority®. All rights reserved.