AirSprayTech.com Academy — Finish Defect Diagnostic Center
Uninvited Guests: Diagnosing Dust, Dirt, and Inclusions
A beautiful finish can be ruined by something small enough to ride into the booth on a sleeve. Dust, dirt, lint, fibers, dried coating, abrasive, metal fragments, insects, and other foreign material may become trapped in or beneath a coating film. The result can range from a few harmless-looking nibs to a widespread defect that compromises appearance, cleanability, film continuity, or product acceptance.
What Are Dust, Dirt, and Inclusions?
Dust and dirt are everyday production terms for unwanted particles that settle on the substrate or enter the wet coating. An inclusion is the broader technical description for foreign material embedded within, underneath, or protruding through the film. An inclusion may be environmental dirt, but it may also come from the coating, compressed-air system, application equipment, pretreatment line, oven, substrate, masking materials, or the product itself.
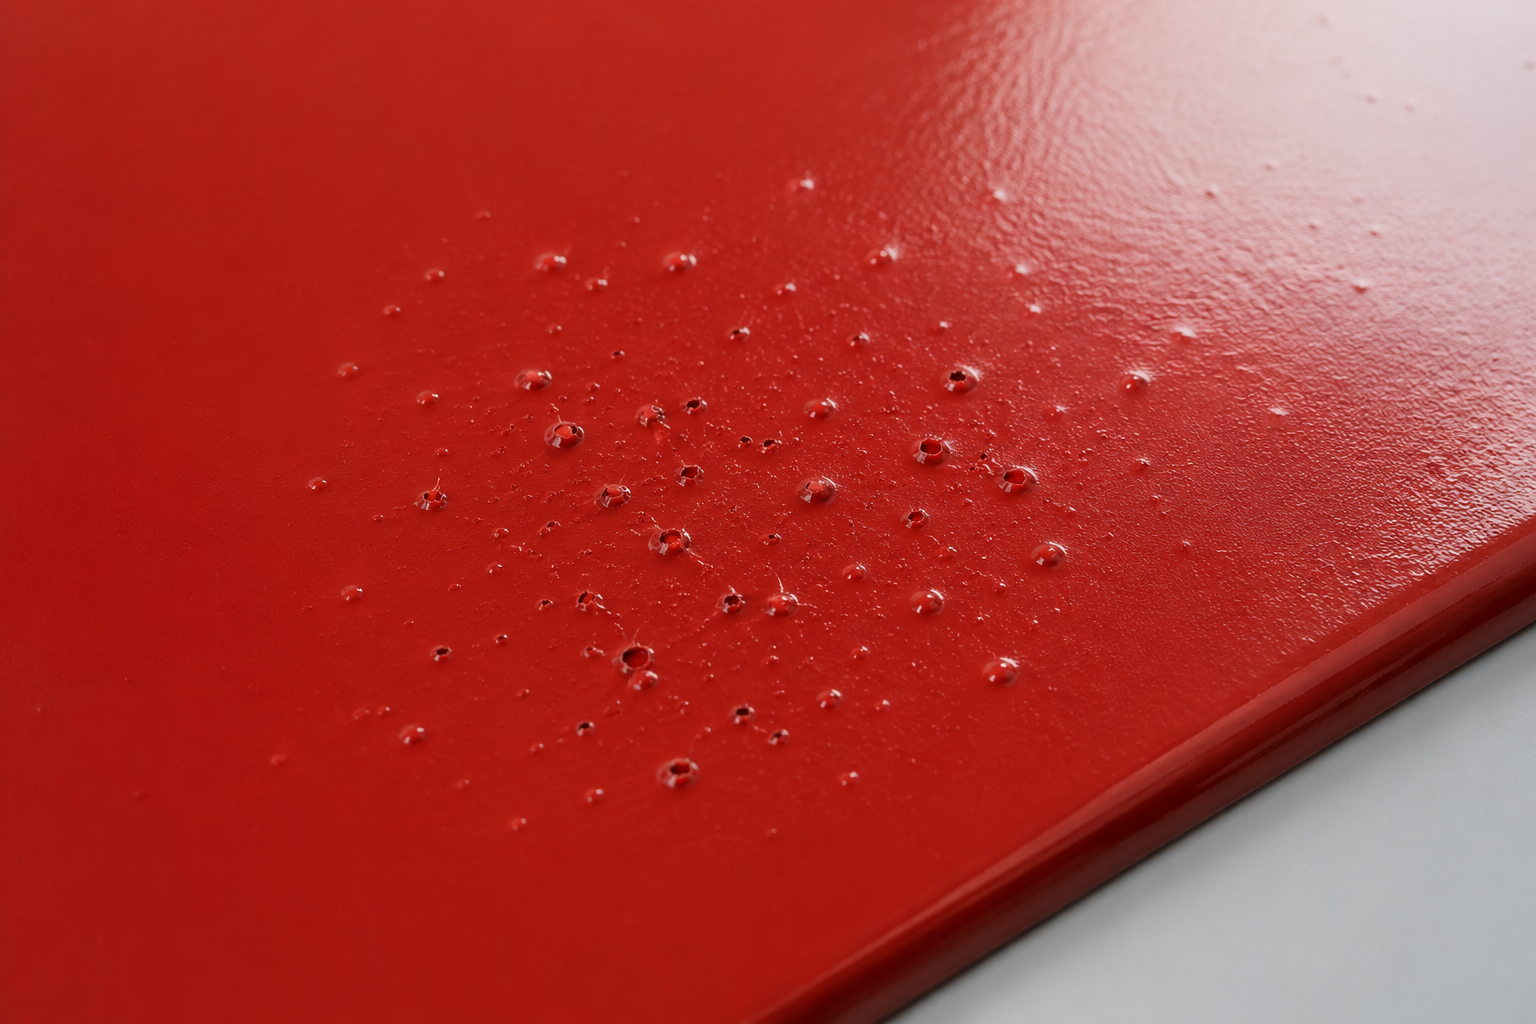
The defect often feels rough when a clean hand is passed lightly over the cured surface. Depending on particle size and film build, it may appear as a sharp nib, rounded bump, dark speck, fiber-shaped ridge, crater surrounding a particle, or irregular protrusion. Some particles are completely covered; others break through the surface.
Common Sources
Part and Surface
- Dust remaining after sanding, blasting, grinding, or handling.
- Abrasive trapped in seams, welds, corners, channels, or cavities.
- Rust scale, mill scale, corrosion products, wood fibers, or loose substrate.
- Lint from wiping cloths or fragments from masking materials.
Coating Material
- Unstrained paint, contaminated thinner, or material from an open container.
- Dried skin, gel particles, pigment agglomerates, or partially cured material.
- Debris introduced by dirty mixing tools, pumps, hoses, pots, or guns.
- Incompatible material or expired product forming solids.
Air and Environment
- Poor booth housekeeping or nearby sanding and grinding.
- Loaded, damaged, incorrectly installed, or bypassing filters.
- Dust drawn through open doors or unsealed booth penetrations.
- Dirty compressed-air piping, deteriorating hose, rust, desiccant, or filter debris.
People and Process
- Ordinary clothing shedding lint, hair, or fibers.
- Operators touching prepared surfaces with dirty gloves.
- Improper tack wiping or a contaminated tack cloth.
- Traffic, cardboard, sweeping, forklifts, or maintenance activity near open coating work.
Appearance Can Suggest the Source
| What You Observe | Likely Places to Investigate |
|---|---|
| Long curved fiber or thread | Wipers, tack cloths, operator clothing, filters, masking materials, or packaging. |
| Hard angular particle | Blasting abrasive, grinding debris, corrosion scale, booth structure, conveyor, or product handling. |
| Soft irregular paint-colored particle | Dried coating in the gun, hose, pressure pot, pump, container rim, mixing vessel, or booth overspray buildup. |
| Dark specks throughout the film | Contaminated material, carbon or compressor debris, degraded hose, dirty circulation system, or poor filtration. |
| Defects concentrated on upward-facing surfaces | Airborne fallout during application, flash, transfer, or early cure. |
| Defects near seams, moldings, welds, or cavities | Material blown from concealed areas by atomizing air, booth airflow, or oven heating. |
| Repeating particles on every part | A continuous source such as paint supply, spray equipment, booth filtration, conveyor, or oven. |
Do Not Confuse Inclusions with Another Defect
| Condition | Typical Distinction |
|---|---|
| Dust, dirt, or inclusion | A solid foreign object can usually be seen, felt, uncovered, or recovered from the defect. |
| Dry spray | A widespread rough texture formed by partially dried coating droplets rather than individual foreign particles. |
| Orange peel | A repeating, pebbled surface caused by inadequate flow and leveling; it normally lacks identifiable debris. |
| Fisheye or crater | A circular depression created by localized surface-tension disturbance. A particle can sometimes initiate a crater, so inspect its center. |
| Solvent popping or pinholing | An opening caused by escaping gas, solvent, or air rather than a solid object embedded in the film. |
| Overspray | Fine coating droplets land too dry to merge into the wet film and commonly affect a broader area or edge. |
A Practical Investigation
- Protect the evidence. Do not wipe, polish, or sand the first affected part. Photograph the surface in normal and low-angle light and mark representative defects.
- Record the pattern. Note the affected face, part orientation, booth position, rack level, operator, gun, shift, coating batch, and time. A location map can reveal whether particles fall, travel with airflow, or originate at the gun.
- Use magnification. A 10-power illuminated loupe or digital microscope may distinguish a fiber, mineral, metal chip, dried paint fragment, hair, or insect.
- Find the affected layer. Determine whether the particle was on the substrate, between coats, or deposited in the topcoat. A careful cross-section is valuable when the source is disputed or the system is multilayered.
- Recover a sample. If practical, remove the particle with a clean tool and place it in a labeled container. Do not contaminate it with fingers, dirty tape, or shop debris.
- Trace the process backward. Inspect the part, racks, pretreatment, drying, masking, staging, paint kitchen, filters, hoses, gun, booth, flash area, oven, conveyor, clothing, and nearby work.
- Compare particles. Compare the recovered material with suspect sources under the same magnification. Color and shape can narrow the search, but laboratory analysis may be necessary for critical failures.
- Confirm the correction. After removing the suspected source, coat controlled test parts and monitor defect counts under consistent inspection conditions.
Inspection and Testing
No single field test identifies every inclusion. Useful tools include bright diffuse lighting, low-angle raking light, magnification, clean tweezers, labeled sample containers, transparent lift tape used only when appropriate, and a defect-location map. For important investigations, optical microscopy, cross-sectioning, Fourier-transform infrared spectroscopy, scanning electron microscopy with elemental analysis, or other laboratory methods may identify an unknown particle.
Count defects only under an agreed inspection method: define viewing distance, lighting, angle, inspection time, surface area, defect size, and acceptance limit. Without those controls, two inspectors can produce very different results. ASTM D3274 concerns surface disfigurement from microbial growth or accumulated soil and dirt during exposure; it is not a universal method for rating particles embedded during paint application.
Correcting the Finish
- Allow the coating to cure sufficiently before attempting repair.
- For an isolated shallow nib in a polishable finish, carefully level and polish according to the coating manufacturer's procedure.
- If the particle is large, numerous, deeply embedded, or surrounded by a film discontinuity, sand or remove the coating to a sound layer and recoat.
- For corrosion-control, lining, immersion, hygienic, aerospace, or other specified service, follow the approved repair and inspection procedure. Cosmetic polishing alone may not restore required performance.
- Eliminate the contamination source before refinishing; otherwise the repair coat may reproduce the same defect.
Prevention: Control the Entire Clean Zone
- Separate sanding, blasting, grinding, sweeping, cardboard handling, and maintenance from coating and flash areas.
- Clean from the top down and use approved vacuuming or wet-cleaning methods instead of redistributing dust with uncontrolled compressed air.
- Blow out seams and cavities before final cleaning, then wipe and tack according to the coating manufacturer's procedure.
- Use clean, low-lint garments, gloves, wipes, masking products, mixing tools, and containers.
- Keep coating containers closed and strain material with the manufacturer-recommended mesh immediately before use.
- Clean guns, pots, pumps, hoses, and circulation systems; remove dried coating from fluid passages and container rims.
- Maintain compressor, dryer, separators, filters, piping, and point-of-use air treatment. Inspect hoses for internal deterioration.
- Monitor booth pressure and replace intake and exhaust filters according to condition and the booth manufacturer's instructions—not merely by calendar.
- Keep booth doors closed during spraying and flash. Repair filter bypasses, door seals, wall damage, and other uncontrolled air paths.
- Control conveyor, rack, and oven debris. Heat and vibration can release particles that were not evident before cure.
Special Notes by Application
Automotive refinish and high-gloss product finishing: Even microscopic nibs are conspicuous. Clean garments, booth housekeeping, careful tack-off, and correct polishing procedures are essential.
Industrial liquid finishing: Investigate both airborne fallout and dried material released from pumps, hoses, regulators, pressure pots, and circulation systems. A recurring paint-colored particle often points upstream.
Powder coating: Contamination may include lint, fibers, rust, cured powder, incompatible powder, reclaim debris, conveyor fallout, or oven dirt. Check virgin and reclaim powder, sieves, hoses, booth cleaning, color-change practices, hooks, and oven airflow.
Protective coatings, floors, roofs, and linings: Windblown dirt, blast media, concrete dust, fibers, insects, and traffic are common. An inclusion that creates a holiday or weak point may be a performance defect even when appearance is unimportant.
What to Document
Record photographs, defect count and size, exact locations, part orientation, affected coating layer, recovered-particle description, substrate preparation, booth and environmental conditions, personnel and nearby activity, coating and batch numbers, strainer mesh, equipment and filter condition, cleaning method, laboratory results, corrective action, and verification-run results. Distinguish confirmed evidence from suspected sources.
Technical References
- PPG Automotive Refinish: Dirt—Causes, Prevention, and Rectification
- Sherwin-Williams: Liquid Coatings Troubleshooting Guide
- Axalta: Paint Defects Manual
- ASTM D3274: Surface Disfigurement from Microbial Growth or Soil and Dirt Accumulation
Technical notice: This article provides general educational guidance. Follow the coating manufacturer's current product data sheet, safety data sheet, approved repair procedure, project specification, and applicable safety and environmental requirements.
Return to the Finish Defect Diagnostic Center
© 2026 Azimuth Spray Systems, LLC. AirSprayTech.com — The Finishing Authority®. All rights reserved.