AirSprayTech.com Academy — Finish Defect Diagnostic Center
Where the Color Went: Diagnosing Fading and Color Change
A coating can remain firmly attached and physically smooth while its color quietly shifts. Sunlight may bleach one pigment faster than another, chemicals may change the binder or colorant, and heat, weathering, contamination, or an inconsistent process may leave once-matching surfaces visibly different.
What Fading and Color Change Look Like
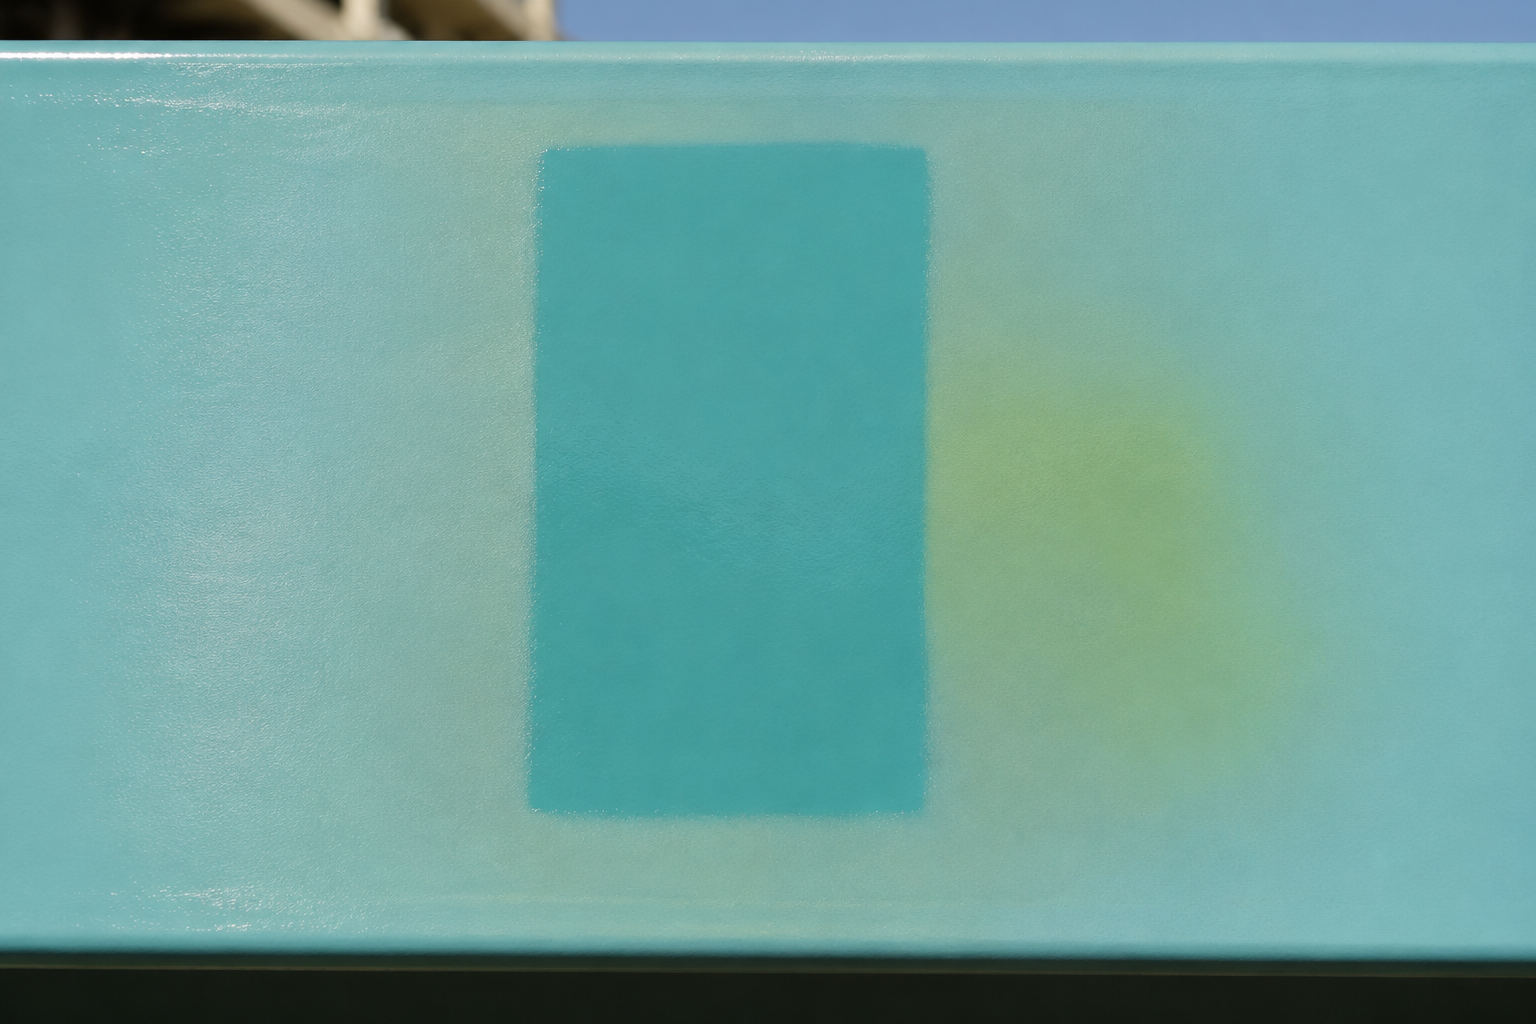
Fading may appear as a lighter, washed-out, or less saturated version of the original color. A color shift may move blue toward green, white toward yellow, red toward orange, or any finish toward a darker or duller appearance. Changes can be uniform, directional, spotted, banded, or sharply divided at a masking line, shadow, roof overhang, stacked part, decal, repair, or chemical splash.
The best evidence is often an unexposed control area. Protected coating beneath a nameplate, gasket, overlap, bracket, or stored sample can reveal the original appearance. Confirm that the protected area had the same product, thickness, cure, and substrate before treating it as a valid control.
Why Coating Color Changes
Light and Weathering
- Ultraviolet and visible radiation alter pigments, dyes, and polymer binders.
- Different colorants lose strength at different rates, shifting both saturation and hue.
- Heat, oxygen, moisture, ozone, salt, and wet-dry cycling accelerate photochemical change.
- South- or west-facing exposures, high elevations, and horizontal surfaces receive greater radiation dose.
Chemicals and Service Exposure
- Acids, alkalis, cleaners, disinfectants, solvents, fuels, process fumes, and spills react with the finish.
- Water, immersion, condensation, and dissolved contaminants alter certain pigments or binders.
- Heat, exhaust, cooking oils, smoke, or industrial deposits yellow, darken, or stain the surface.
- Plasticizers, sealants, gaskets, adhesives, and substrates migrate into the coating.
Application and Cure
- Incorrect mix ratio, cure temperature, bake schedule, or reducer changes color development.
- Uneven film thickness, hiding, metallic orientation, or undercoat color affects the final reading.
- Poor agitation or pigment settling creates batch, container, or pass-to-pass variation.
- Repair material, alternate batch, incorrect tint, or incompatible clearcoat produces an immediate mismatch.
Aging and Surface Change
- Binder oxidation and chalking expose or release pigment and make the surface look lighter.
- Gloss loss scatters light and changes perceived depth even when color coordinates change only modestly.
- Erosion removes tinted or pigmented layers and reveals an undercoat.
- Dirt, biological growth, corrosion products, polish, wax, or residue overlays the actual coating color.
Read the Pattern Before Naming the Cause
| Observed Pattern | Likely Direction | What to Verify |
|---|---|---|
| Exposed area is pale while protected area retains original color | Light and weathering fade | Orientation, exposure time, UV stability, control validity, gloss, chalking, and maintenance history |
| Color shift follows a spill, drip, wash, vapor, or immersion line | Chemical exposure, staining, water sensitivity, or cleaner incompatibility | Chemical identity, concentration, temperature, dwell, cure at exposure, and resistance data |
| Only one batch, shift, oven rack, or repair differs | Material, tint, agitation, application, film build, or cure variation | Batch records, retain samples, mixing, viscosity, DFT, substrate, oven profile, and repair formula |
| Surface looks lighter and leaves pigment on a cloth | Chalking may be changing perceived color | Chalk rating, binder degradation, gloss, pigment transfer, and color after controlled cleaning |
| Color matches under one light source but not another | Metamerism or different spectral reflectance | Illuminant, observer, instrument geometry, pigments, viewing booth, and required lighting conditions |
| Dark finish turns yellow, brown, or amber near heat | Thermal oxidation, resin yellowing, exhaust, oil, or deposited contamination | Peak and continuous temperature, airflow, hot spots, cleaner trial, binder capability, and service history |
Fading Versus Similar Defects
- Chalking: binder degradation leaves removable powder. Chalking can make color look faded, but true pigment or binder color change may remain after cleaning.
- Staining and bleeding: foreign material or an underlying colorant discolors the film. Fading usually represents loss or alteration of the original color.
- Poor hiding: substrate or undercoat shows through from the beginning; fading develops or progresses after application.
- Gloss loss: increased light scatter makes a finish look lighter or flatter. Measure gloss separately from color.
- Mottling and clouding: uneven pigment or metallic orientation creates patches during application rather than exposure-driven loss.
- Blushing or blooming: a pale haze or surface film reduces clarity and may be removable or moisture-related.
- Dirt and biological growth: deposits can darken, green, or yellow the surface and may change after controlled cleaning.
- Metamerism: two colors match under one light and differ under another; neither surface necessarily faded.
A Practical Investigation Procedure
- Photograph under controlled conditions. Include the affected area, suspected control, orientation, and scale. Avoid mixed lighting and automatic camera settings when comparison matters.
- Map exposure. Note sun, shade, cardinal direction, elevation, horizontal versus vertical surfaces, heat, chemicals, water paths, repairs, batches, and protected areas.
- Confirm the control. Establish whether the comparison area truly had the same coating system, application, thickness, cure, age, and service except for exposure.
- Inspect before and after approved cleaning. Record dirt, chalk, stain, wax, oil, biological growth, and residue. Use a documented small trial that does not polish or alter the coating.
- Measure color and gloss separately. Use calibrated equipment, consistent geometry, a defined illuminant and observer, and replicate readings at mapped locations.
- Review coating records. Check product, color code, tint formula, batches, agitation, mix, reducer, thickness, substrate, cure, repairs, and clearcoat.
- Reconstruct service history. Document radiation, temperature, humidity, rain, cleaners, chemicals, immersion, wash frequency, fumes, and maintenance products.
- Assess other degradation. Look for chalking, gloss loss, erosion, cracking, adhesion loss, brittleness, corrosion, and chemical softening.
- Use laboratory analysis when required. Spectroscopy, microscopy, pigment identification, binder analysis, and accelerated or natural exposure comparisons may separate competing causes.
Measuring Color Change Correctly
- ASTM D2244-25 — Calculation of color tolerances and color differences from instrumentally measured color coordinates.
- ASTM D523-25 — Specular gloss measurement.
Record the color space, color-difference equation, illuminant, observer, instrument geometry, aperture, backing, calibration, surface orientation, and number of readings. Curvature, texture, metallic or pearlescent pigments, translucency, dirt, and gloss differences can alter results. A single color-difference number does not identify the cause or determine acceptability unless the specification defines the method and tolerance.
Weathering and Light-Exposure Testing
- ASTM G154 covers operation of fluorescent ultraviolet lamp apparatus for exposure of nonmetallic materials.
- ASTM G155-25 covers operation of xenon arc lamp apparatus for exposure of nonmetallic materials.
- ASTM D6695 addresses xenon-arc exposure of paint and related coatings.
Accelerated exposure does not produce a universal conversion to years outdoors. Lamp type, irradiance, spectrum, temperature, moisture cycle, specimen preparation, and evaluation intervals must match the written method. Compare materials within the same valid test and correlate with natural service experience.
Correcting Fading and Color Change
Begin by determining whether the change is removable contamination, chalking, gloss loss, surface haze, or permanent chemical and photochemical change. A manufacturer-approved cleaning or polishing trial may restore appearance when the issue is superficial, but aggressive polishing can remove film, change gloss, and create a temporary match.
Permanent pigment fade, binder yellowing, chemical color change, or through-film deterioration generally requires refinishing. Correct the exposure, cleaner, heat, chemical splash, moisture, incompatible material, or process variation first. Remove unsound coating, prepare the surface, and apply a compatible system with the required color and exposure resistance.
Spot repairs on weathered finishes may remain visible because new coating matches the original specification rather than the aged surrounding surface. Define whether the objective is original color, current adjacent color, or whole-asset uniformity before ordering or tinting repair material.
Preventing Color Change
- Select pigments, binders, and clearcoats with proven stability for the radiation, heat, chemicals, and service environment.
- Use approved colors; highly saturated organic pigments may have different durability from earth tones or inorganic pigments.
- Standardize batches, agitation, tinting, film build, undercoat color, mix, application, and cure.
- Control oven temperature and actual part-metal time to prevent undercure or thermal yellowing.
- Protect coating until full chemical- and water-service cure is achieved.
- Use compatible cleaners at the correct concentration, temperature, dwell time, and rinse.
- Prevent chemical leaks, exhaust deposits, water traps, and contact with migrating sealants or plasticizers.
- Retain coated control panels and record initial color and gloss using the specified measurement conditions.
- Inspect and trend color, gloss, chalking, and film condition before change becomes severe.
Application-Specific Clues
Architectural, roof, and exterior industrial coatings: Orientation, sunlight, moisture, chalking, biological growth, and accumulated maintenance coats often interact. Compare elevations separately.
Automotive, rail, aerospace, and fleet: Clearcoat condition, repair formulas, film build, metallic orientation, heat, fuels, cleaners, UV dose, and metamerism are important.
Powder and OEM finishes: Pigment and resin selection, oven profile, part temperature, film thickness, batch consistency, and outdoor durability class can determine color retention.
Floors, tanks, linings, and chemical areas: Identify the exact chemical, concentration, temperature, cure age, exposure time, cleaning method, and whether color change signals loss of protective performance.
Technical References
- ASTM D2244-25: Instrumentally Measured Color Differences
- ASTM D523-25: Specular Gloss
- ASTM G154: Fluorescent UV Exposure
- ASTM G155-25: Xenon Arc Exposure
- ASTM D6695: Xenon-Arc Exposure of Paint and Related Coatings
© 2026 Azimuth Spray Systems, LLC. AirSprayTech.com — The Finishing Authority®. All rights reserved.