AirSprayTech.com Academy — Finish Defect Diagnostic Center
When the Finish Wears Away: Understanding Coating Erosion
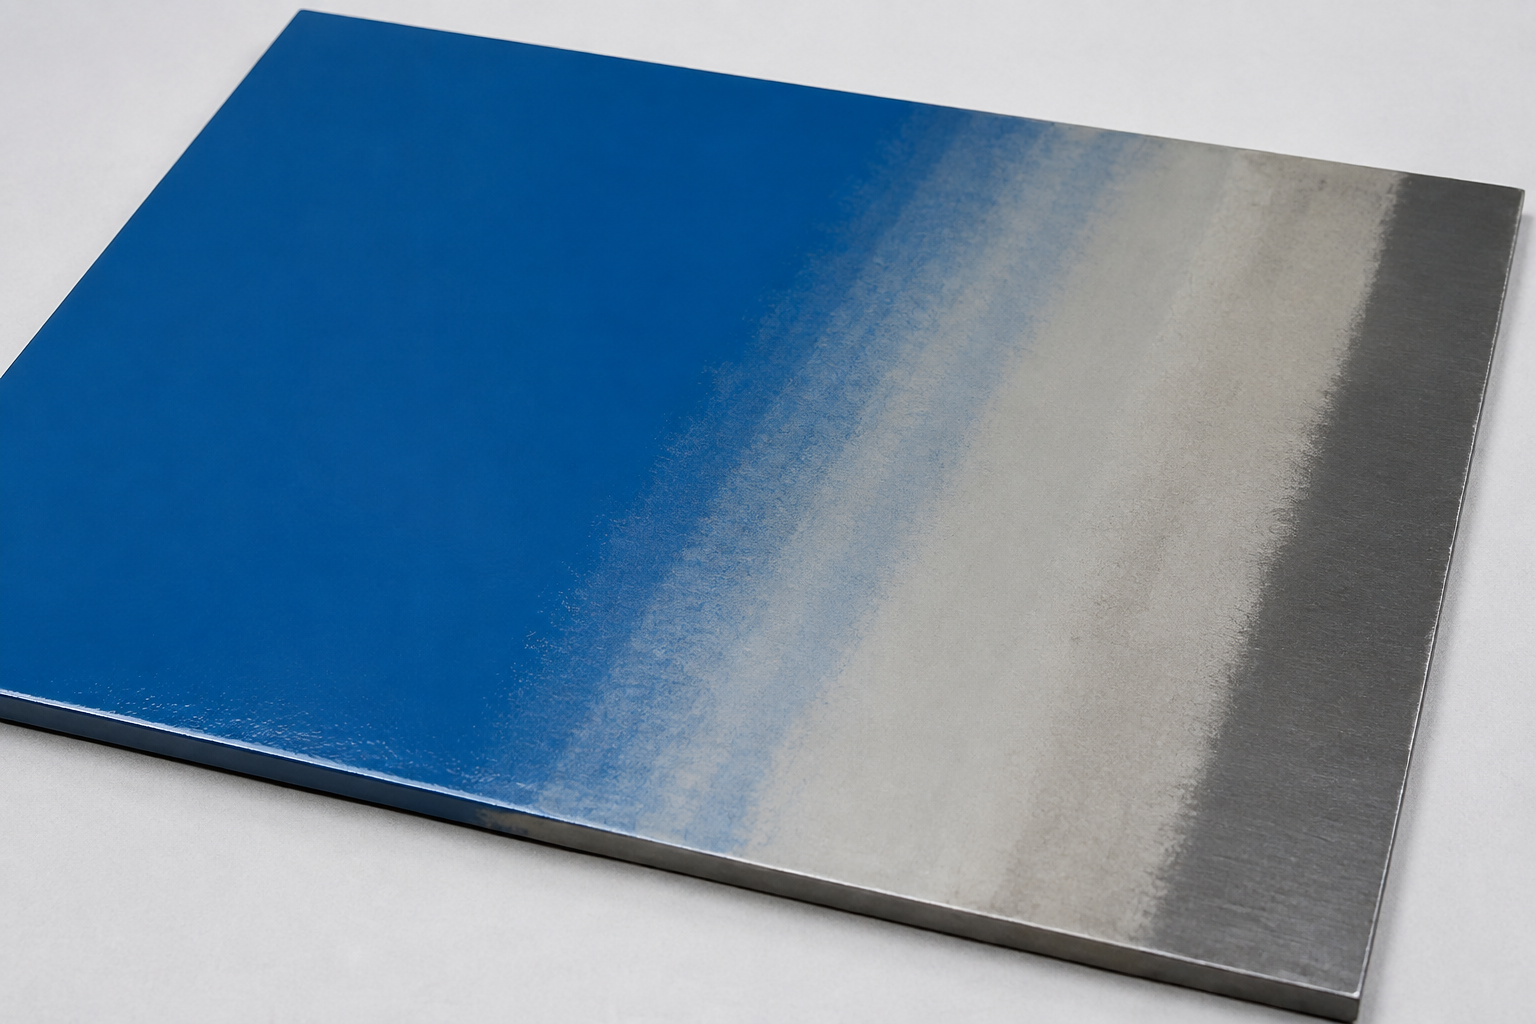
Coating erosion is the gradual wearing away or loss of a paint film. Unlike peeling, the coating does not usually detach in sheets. Instead, its thickness and protective capacity are progressively reduced until an underlying coat or the substrate becomes visible. Erosion may be broadly distributed by weathering or concentrated where windborne particles, moving material, water, cleaning, traffic, or repeated contact attacks the film.
What Erosion Looks Like
- Gradual reduction of coating thickness without a sharply lifted boundary.
- Primer, intermediate coat, or substrate becoming visible through the topcoat.
- Feathered wear zones on edges, corners, leading surfaces, walkways, rails, chutes, tanks, pipes, roofs, floors, and frequently cleaned areas.
- A polished, dulled, faded, roughened, or color-shifted surface, depending on the wear mechanism.
- Greater loss on surfaces exposed to sunlight, rain, wind, spray, particles, traffic, or process flow.
- Corrosion beginning after the protective film becomes too thin or the substrate is exposed.
Erosion describes the loss that has occurred; it does not identify the cause by itself. The same visible thinning may result from ordinary weathering, abrasive particles, foot or vehicle traffic, product movement, high-pressure cleaning, cavitation, water flow, chemical attack, ultraviolet degradation, or a coating that was too thin from the beginning.
Common Causes
Weather and Environment
- Ultraviolet degradation followed by chalking and surface loss.
- Wind-driven rain, hail, sand, dust, ice, or airborne process particles.
- Repeated wetting, drying, heating, cooling, and freeze-thaw exposure.
- Exterior service beyond the coating system’s intended durability.
Mechanical Wear
- Foot traffic, tires, wheels, pallets, tools, hoses, cables, and equipment contact.
- Product movement through hoppers, chutes, conveyors, tanks, ductwork, and piping.
- Repeated washing, scrubbing, sweeping, blasting, or pressure cleaning.
- Vibration or rubbing at supports, clamps, fasteners, and contact points.
Fluid and Process Exposure
- High-velocity liquid, spray, slurry, entrained solids, or turbulent flow.
- Cavitation, impingement, or concentrated flow at bends, nozzles, inlets, and outlets.
- Chemicals that soften, swell, dissolve, or weaken the coating before material is removed.
- Heat or immersion conditions outside the coating’s service rating.
Coating-System Variables
- Insufficient or uneven dry-film thickness.
- Wrong coating type for the anticipated wear and exposure.
- Improper mix ratio, cure, application temperature, or recoat interval.
- Poor edge coverage, inaccessible geometry, porosity, or an omitted wear layer.
Do Not Confuse Erosion with These Conditions
| Condition | Typical Clue | What to Investigate |
|---|---|---|
| Erosion | Progressive, feathered film loss; thickness decreases and lower layers may become visible. | Exposure pattern, remaining film thickness, wear mechanism, service rate, and original application records. |
| Chalking | Loose powder transfers from the surface as binder weathers; severe chalking can contribute to later erosion. | Powder transfer, ultraviolet exposure, coating chemistry, color/gloss change, and specified chalk test. |
| Peeling or delamination | Coating separates at an interface, often with lifted edges, sheets, strips, or flakes. | Adhesion, surface preparation, contamination, moisture, compatibility, and the separation plane. |
| Impact damage | Discrete chips, dents, gouges, or star-shaped damage associated with individual strikes. | Shape, depth, local deformation, service events, and impact source. |
| Undercutting corrosion | Corrosion spreads beneath the film from an edge, scribe, holiday, fastener, or damaged area. | Rust products, loss of adhesion, moisture and salt exposure, and origin of the break. |
| Low original film build | Thin spots may follow spray pattern, geometry, edges, or access limitations without evidence of progressive wear. | Baseline DFT records, protected comparison areas, layer structure, and application history. |
A Practical Diagnostic Sequence
- Map the pattern. Photograph and mark affected areas before cleaning. Note orientation, height, leading edges, flow direction, traffic lanes, contact points, drains, nozzles, and sheltered zones.
- Establish the timeline. Determine when the change first appeared, how quickly it progressed, and whether it coincided with new chemicals, production rates, cleaning practices, weather, traffic, or equipment.
- Compare worn and protected areas. Inspect behind flanges, beneath covers, on undersides, and in sheltered locations that may retain the original coating condition.
- Identify the wear mechanism. Look for directional clues from wind, flow, particles, movement, washing, rubbing, or traffic. Collect process and maintenance records.
- Measure remaining film thickness. Use an appropriate calibrated instrument and procedure for the substrate and coating. Take repeatable readings in sound, transitional, and worn zones.
- Examine the layer structure. Determine whether only the topcoat is gone or whether primers, intermediate coats, and substrate have also been lost. Microscopy or destructive examination may be needed.
- Check adjacent failure modes. Record chalking, cracking, adhesion loss, holidays, corrosion, chemical softening, and substrate damage separately.
- Review the design basis. Compare the actual coating system, DFT, cure, exposure, cleaning, and service with the specification and manufacturer’s published limits.
Measuring and Rating Erosion
ASTM D662-93(2019), Standard Test Method for Evaluating Degree of Erosion of Exterior Paints, evaluates erosion of exterior paint by comparison with photographic standards. Its scope should be reviewed before use; it is not a universal procedure for every lining, floor, roof, powder coating, or industrial service condition.
Dry-film thickness measurements can help document remaining coating, but interpretation requires care. The instrument must suit the substrate, geometry, coating system, and thickness range. Surface roughness, curvature, exposed primer, multiple layers, and corroded substrate can affect readings. When the original film thickness is unknown, comparisons with protected areas and cross-sectional examination may be more informative than a single measurement.
Corrective Action
Repair must address both the damaged coating and the force removing it. Reapplying the same system without changing an excessive wear condition may simply restart the failure.
- Confirm the repair boundary. Extend inspection beyond the obvious worn area to locate thin, weak, chemically affected, or poorly adhered coating.
- Remove contamination and unsound material. Use the surface-preparation method required by the specification and compatible with the substrate and remaining coating.
- Repair the substrate. Address corrosion, pitting, sharp edges, damaged concrete, leaks, cavitation, or mechanical defects before recoating.
- Restore the complete system. Rebuild primer, intermediate, finish, and wear layers to the specified thickness. Stripe-coat edges, welds, fasteners, and difficult geometry when required.
- Control the cause. Redirect flow, reduce particle impingement, install liners or sacrificial wear plates, improve drainage, change traffic management, alter cleaning methods, or add physical protection where engineering permits.
- Verify compatibility and cure. Conduct representative test patches when applying a maintenance coating over an existing system. Follow recoat and cure requirements before returning the asset to service.
Prevention
- Select coating chemistry and system thickness for the actual ultraviolet, chemical, immersion, temperature, abrasion, impact, and flow exposure.
- Use abrasion-resistant layers, aggregates, reinforced linings, or replaceable wear components where the design requires them.
- Round sharp edges and correct geometry that concentrates flow or prevents adequate film build.
- Measure wet- and dry-film thickness and pay special attention to edges, welds, corners, high points, and inaccessible areas.
- Control mixing, application, recoat intervals, and cure before service.
- Use cleaning chemicals, pressure, brushes, and equipment compatible with the coating.
- Establish baseline photographs and thickness readings, then inspect at planned intervals to determine the rate of loss.
- Perform maintenance before the substrate is exposed and corrosion or structural damage increases repair scope.
Application-Specific Considerations
Protective coatings and linings: In tanks, piping, wastewater equipment, chutes, and process vessels, distinguish erosion from chemical attack and cavitation. Flow direction, solids content, velocity, temperature, and concentration may matter as much as coating hardness. Significant failures may require engineering review and laboratory analysis.
Floors and traffic surfaces: Wheel paths, turning points, loading zones, ramps, and doorways often show concentrated loss. Surface profile, coating thickness, cure, aggregate, tire type, loading, and cleaning practices should be reviewed together.
Roofs and exterior structures: Weathering can gradually remove exposed film, while ponding water, drainage paths, foot traffic, hail, and maintenance work create localized wear. Investigate seams and penetrations before assuming the problem is cosmetic.
Powder, automotive, aerospace, rail, and OEM finishes: Leading edges, steps, handles, loading areas, fasteners, and repeated wash zones may erode first. Compare identical parts or sheltered geometry, and use only approved repair procedures where appearance, corrosion protection, weight, or qualification requirements are controlled.
Documentation
Record the asset and exact location; coating system and age; original and remaining thickness where known; erosion pattern; exposed layer; corrosion; service conditions; cleaning history; test equipment and calibration; photographs; and the repair decision. A repeatable inspection grid or fixed measurement locations can reveal the rate of film loss and help schedule maintenance before protection is lost.
The Association for Materials Protection and Performance emphasizes a systematic failure-analysis approach that considers design, specification, application, environment, and service evidence rather than relying on appearance alone. See A Systematic Approach to Coating Failure Analysis.
Technical References
- ASTM D662-93(2019): Evaluating Degree of Erosion of Exterior Paints
- ASTM D4214-23: Evaluating the Degree of Chalking of Exterior Paint Films
- AMPP CoatingsPro: A Systematic Approach to Coating Failure Analysis
Technical notice: This article provides general educational guidance. Always follow the current coating technical data sheet, safety data sheet, project specification, equipment instructions, and applicable environmental and workplace requirements. Qualified inspection, engineering review, or laboratory analysis may be necessary when failure consequences are significant.
© 2026 Azimuth Spray Systems, LLC. AirSprayTech.com — The Finishing Authority®. All rights reserved.