AirSprayTech.com Academy — Finish Defect Diagnostic Center
When White Turns Wrong: Diagnosing Yellowing and Discoloration
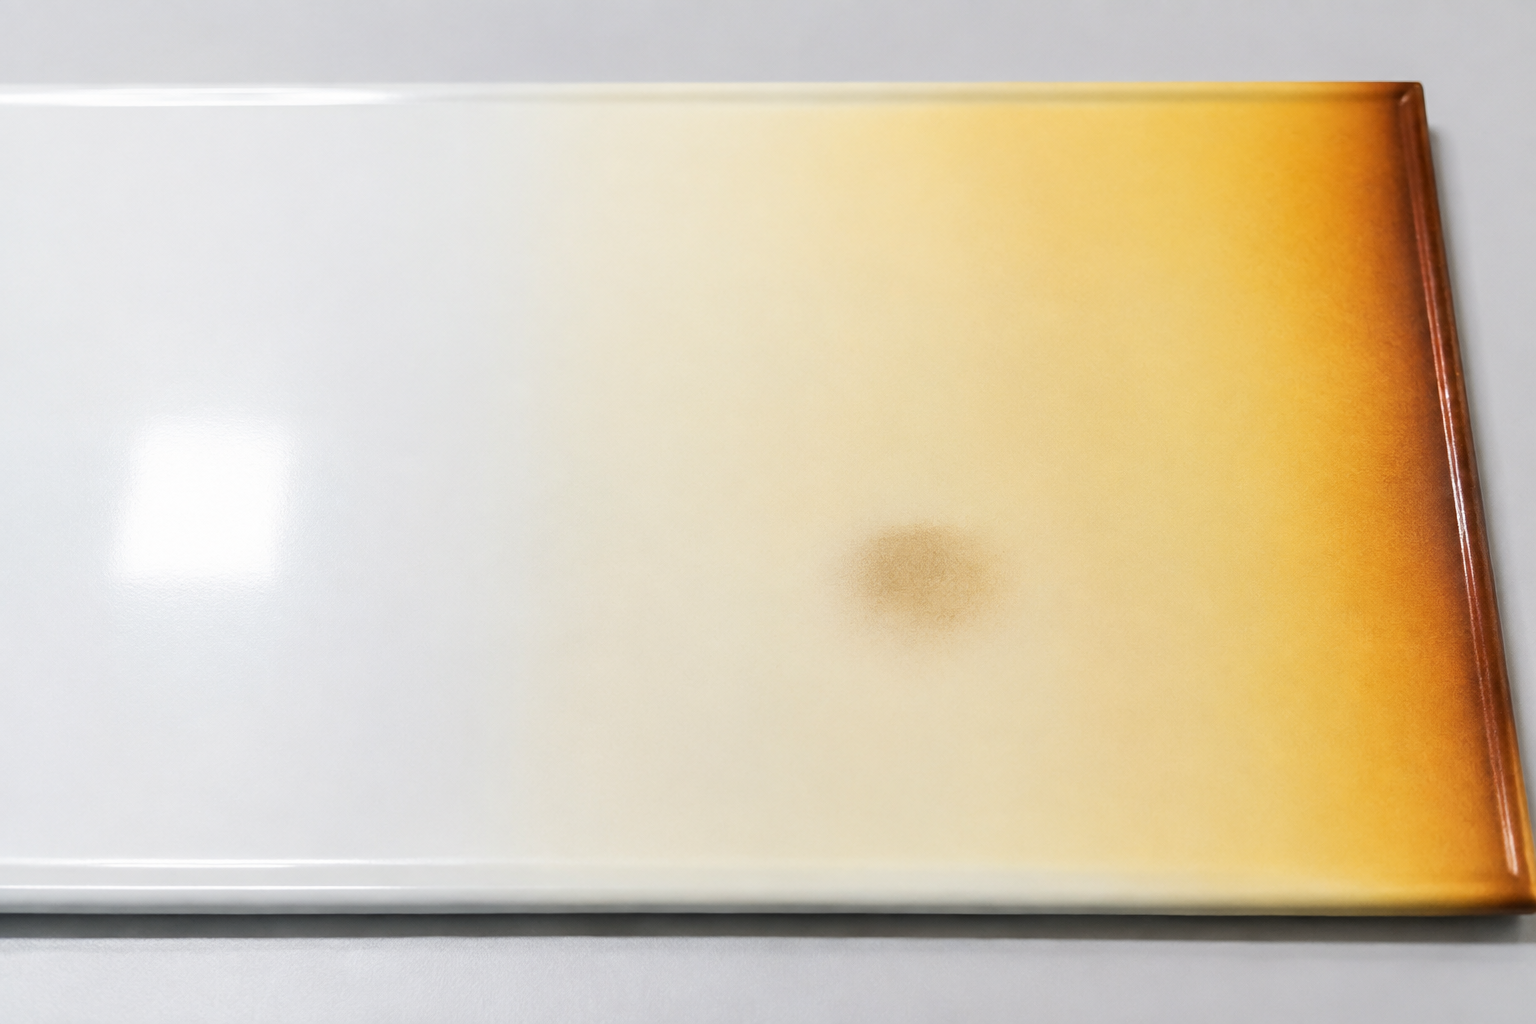
A white or clear coating makes color change impossible to hide. Cream, amber, brown, gray, or uneven patches may signal normal binder aging, excess heat, chemical attack, contamination, bleed-through, incorrect cure, or material migrating from below.
What the Defect Looks Like
Yellowing may be uniform across an entire surface or concentrated in dark areas, near heat, beneath rugs or equipment, around sealants, at repairs, or along chemical exposure paths. Clear finishes may turn amber; whites may become cream; pale colors may look dirty or brown. A localized stain can have a sharp splash boundary, soft diffusion edge, drip pattern, contact outline, or shadow corresponding to a gasket or adhesive.
Compare exposed and protected areas carefully. A hidden area may reveal the original color, but it can also age differently because it received less light, air, heat, cleaning, or wear. A valid comparison requires the same coating, thickness, substrate, cure, and application history.
Common Causes
Binder Aging and Light
- Oxidation and polymer chemistry naturally shift some binders toward yellow or amber.
- Some epoxies yellow more noticeably in dark or low-UV locations, while sunlight can fade other colors.
- UV exposure, oxygen, moisture, ozone, and time alter resin and pigments.
- A clearcoat may yellow even when the colored basecoat remains stable.
Heat and Cure
- Continuous heat, hot spots, exhaust, radiant sources, or an excessive bake cycle thermally oxidizes the film.
- Incorrect part-metal temperature or dwell time produces batch or rack variation.
- Wrong mix ratio, hardener, induction, reducer, or incomplete cure changes color development.
- Thick areas retain solvent or react differently from properly applied film.
Chemicals and Contamination
- Acids, alkalis, cleaners, disinfectants, smoke, oils, fuels, process fumes, and spills stain or react with the coating.
- Rust, tannins, nicotine, asphalt, bitumen, dyes, marker ink, and corrosion products bleed or migrate.
- Plasticizers, sealants, gaskets, adhesives, wood extractives, and old coatings move into the finish.
- Dirty heaters, compressed air, rags, wash water, or maintenance products deposit residue.
Application and System Design
- Insufficient hiding allows a yellow or dark substrate to influence appearance.
- Stain-blocking primer is omitted, too thin, incompatible, or recoated before it isolates the source.
- Different batches, tint strength, film thickness, undercoat color, or repair materials do not match.
- An unsuitable resin or pigment is selected for heat, UV, chemical, or interior-dark exposure.
Let the Pattern Guide the Investigation
| Observation | Likely Direction | What to Verify |
|---|---|---|
| Uniform ambering of a clear or white film | Binder aging, resin chemistry, heat, cure, or broad chemical exposure | Product type, age, temperature history, UV exposure, cure record, and retained control |
| Yellowing is stronger in dark or covered areas | Dark yellowing of certain binders, trapped contamination, plasticizer, or contact material | Coating chemistry, light exposure, rug or equipment contact, ventilation, temperature, and migration |
| Brown or yellow area follows a hot edge or exhaust path | Thermal oxidation, exhaust deposit, oil, smoke, or process fume | Actual surface temperature, source distance, airflow, cleaner trial, and heat rating |
| Stain returns after cleaning or recoating | Bleed-through or migration from substrate, old coating, sealant, adhesive, or contamination | Layer sequence, failure depth, stain blocker, substrate, solvent sensitivity, and test patch |
| Color change follows a splash, drip, wash, or immersion line | Chemical attack, cleaner incompatibility, water exposure, or residue | Chemical identity, concentration, temperature, dwell, rinse, cure age, and resistance data |
| Only one part, batch, oven zone, or repair differs | Material, tint, film build, mix, agitation, bake, or application variation | Batch and process records, DFT, part temperature profile, substrate, and retained panel |
Yellowing Versus Similar Defects
- Fading: loss of saturation or color strength, often from light exposure. Yellowing is a directional shift toward cream or amber.
- Bleeding and staining: colorant or foreign material migrates through or deposits on the finish. Yellowing can be the visible result, but the source is different from binder aging.
- Poor hiding: substrate color was visible from the beginning rather than developing with time or exposure.
- Chalking: powder from binder degradation can make color look pale. It should be assessed separately from yellow index.
- Blushing or blooming: a whitish haze reduces clarity; it does not normally create a true amber shift.
- Dirt and smoke: surface deposits may clean away, while chemical change within the film remains.
- Rust staining: iron corrosion products create orange-brown marks and may originate remotely through runoff.
- Metamerism: surfaces match under one light and differ under another without either having chemically yellowed.
A Practical Investigation Procedure
- Document before cleaning. Photograph the overall pattern, close details, possible source, and a representative control under consistent lighting.
- Establish timing. Determine whether change appeared during cure, after heating, beneath an object, following cleaning, or gradually in service.
- Map the environment. Record light, heat, exhaust, chemicals, water, contact materials, orientation, repairs, batches, oven positions, and protected areas.
- Perform a controlled cleaning trial. Use only an approved cleaner on a small documented area. Avoid polishing, bleaching, or solvent attack that changes the coating.
- Locate the discoloration. Determine whether it is removable surface residue, within the topcoat, between layers, or migrating from substrate.
- Measure color and gloss. Use calibrated instruments and identical geometry, illuminant, observer, aperture, backing, and surface preparation.
- Review production records. Check resin, pigment, tint, batch, mix, thinner, DFT, primer, substrate, bake profile, cure, and repair history.
- Reconstruct exposure. Identify temperatures, chemicals, concentrations, dwell, cleaning cycles, UV, moisture, and time.
- Escalate when necessary. Cross-sections, microscopy, spectroscopy, extraction, and thermal or chemical analysis may identify the changed layer and source.
Measuring Yellowing and Color Difference
- ASTM E313-20(2025) — Calculating yellowness and whiteness indices from instrumentally measured color coordinates.
- ASTM D2244-25 — Calculation of color tolerances and color differences.
- ASTM D523-25 — Specular gloss.
The method, illuminant, observer, instrument geometry, calibration, backing, specimen thickness, surface texture, and gloss must be defined. Yellowness indices are not universally appropriate for every colored, translucent, metallic, or fluorescent coating. ASTM D1925 is withdrawn and should not be cited as though it were a current general-purpose method.
Correcting the Defect
If discoloration is a removable deposit, use the coating manufacturer’s approved cleaning process and correct the contamination source. Verify that cleaning did not soften, polish, etch, or alter gloss. If color change is permanent within the binder or pigment, cleaning will not restore the original finish.
For bleed-through or migration, remove or isolate the source using a compatible, tested stain-blocking or barrier system. Recoating without controlling the source often produces a repeat stain. Heat, exhaust, chemical leaks, plasticizer contact, moisture, and process errors must be corrected before refinishing.
Remove unsound or chemically damaged coating, prepare the surface, and rebuild the approved system. A spot repair may not match aged surrounding coating. Decide whether the acceptance target is the original specified color, the current adjacent appearance, or complete asset uniformity.
Preventing Yellowing and Discoloration
- Select binders and pigments with proven stability for UV, dark interior exposure, heat, chemicals, and required color.
- Use compatible primers or stain blockers over tannins, asphalt, dyes, old coatings, and other migratory substrates.
- Verify sealants, gaskets, adhesives, plastics, and cleaners for staining and plasticizer migration.
- Control mix ratio, agitation, tint, film build, flash, recoat, cure, and actual part-metal bake schedule.
- Prevent oil, smoke, exhaust, dirty heat, compressed-air contamination, and process residue.
- Keep surface temperatures below the coating’s continuous and peak service limits.
- Allow full cure before cleaning, chemical exposure, covering, packaging, or immersion.
- Retain coated controls and record initial color, yellowness, whiteness, and gloss where appearance is critical.
Application-Specific Clues
Architectural, wood, and cabinetry: Tannins, knots, nicotine, asphalt, old stains, cleaners, dark yellowing, and incompatible sealants frequently contribute.
Epoxy floors and protective coatings: Some epoxies amber with UV or in low-light conditions. Heat, chemicals, mix, cure, tire plasticizers, rubber mats, and early service can create local change.
Powder, OEM, appliance, automotive, aerospace, and rail: Oven profile, overbake, resin selection, clearcoat, batch, part geometry, exhaust, fluids, cleaners, adhesives, and repair materials deserve attention.
Tanks, linings, food, and chemical service: Treat color change as possible evidence of absorption or chemical attack until performance is verified. Product contamination and regulatory concerns require qualified review.
Technical References
- ASTM E313-20(2025): Yellowness and Whiteness Indices
- ASTM D2244-25: Instrumentally Measured Color Differences
- ASTM D523-25: Specular Gloss
© 2026 Azimuth Spray Systems, LLC. AirSprayTech.com — The Finishing Authority®. All rights reserved.