Knowledge Base:  
Poor Gloss: When the Shine Will Not Stay Even
Last Updated: 08/31/2026

Finish Defect Diagnostic Center

Poor Gloss: When the Shine Will Not Stay Even

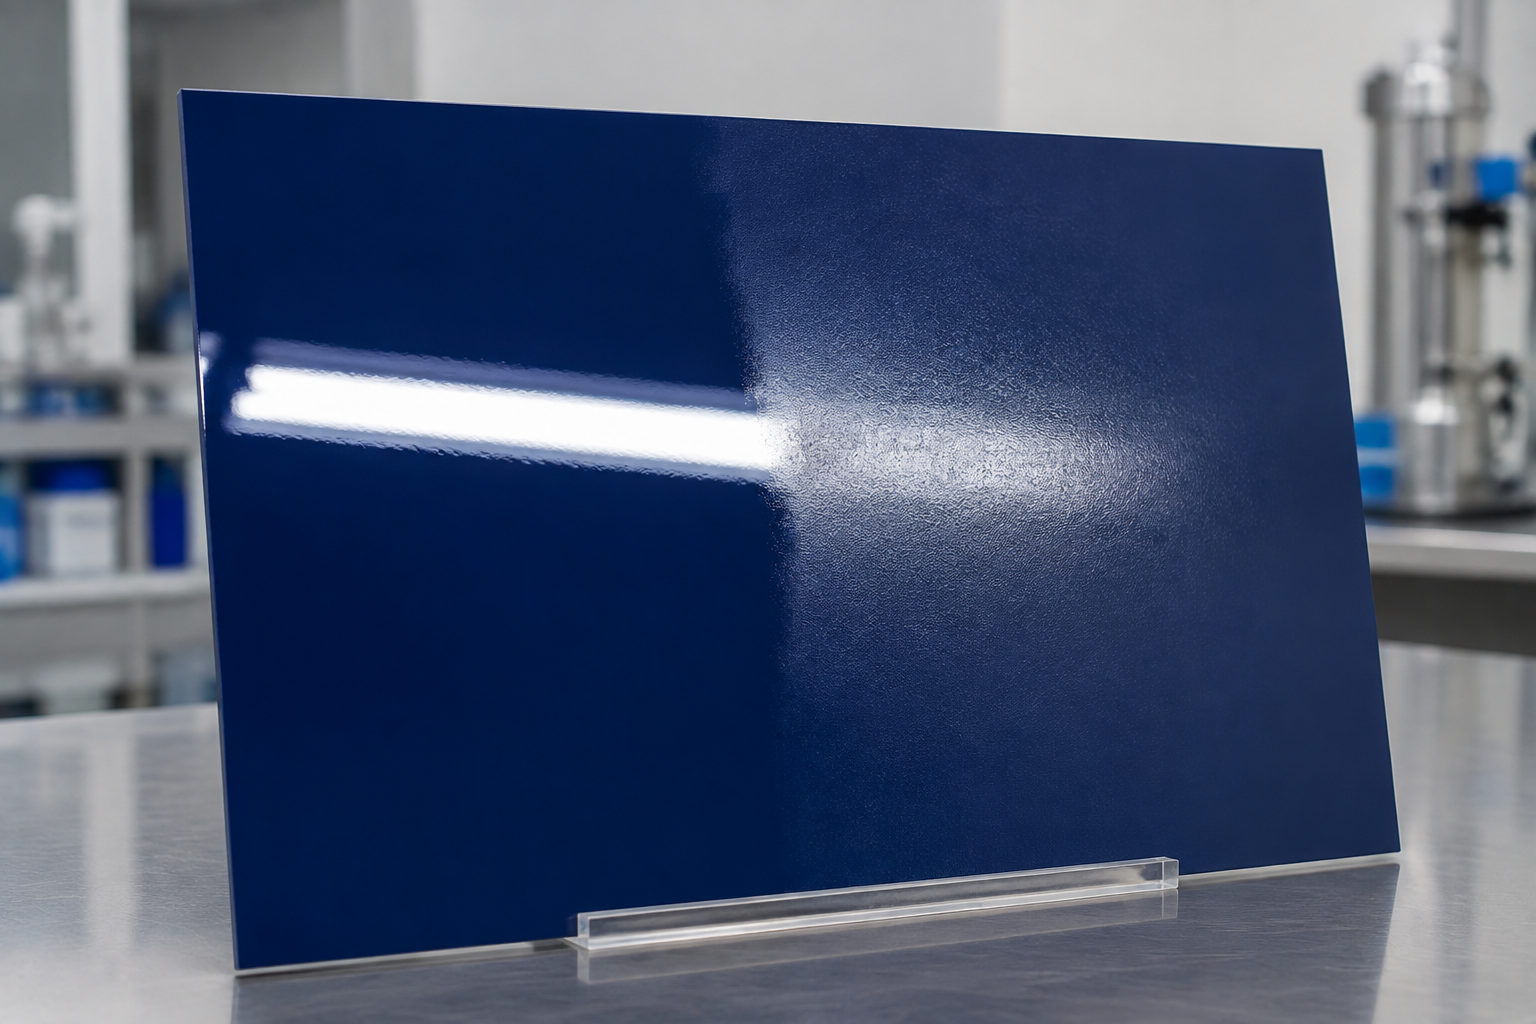
Poor gloss occurs when a cured coating is duller than its approved target. Uneven gloss appears as patches, bands, clouds, or part-to-part differences in surface shine. The film may look smooth at first glance, yet reflected light reveals that one area is sharper, brighter, or more mirror-like than another.

Quick Diagnosis

What you see: A finish that is uniformly too dull or visibly changes in gloss across the same part.

What happened: The surface chemistry, microscopic texture, film thickness, application, cure, contamination, or underlying layer changed the way light is reflected.

First things to check: Approved gloss range, reference panel, product and batch, mixing and agitation, film thickness, substrate and primer condition, spray overlap, flash time, temperature, humidity, airflow, cure schedule, and post-cure cleaning or polishing.

Low Gloss Is Not Always a Defect

Matte, eggshell, satin, semigloss, and high-gloss products are designed to reflect light differently. A finish should therefore be judged against the intended product, approved sample, customer standard, or specification—not against the assumption that shinier is always better.

A correctly applied matte coating may be smooth, uniform, and fully cured while producing a low gloss reading. Conversely, a coating intended to be glossy may appear dull because of microscopic roughness, dry spray, incomplete flow, contamination, solvent attack, undercure, overbake, or poor holdout over the substrate.

How to Recognize Poor or Uneven Gloss

  • View the part under consistent lighting and from a consistent angle.
  • Look for changes in the brightness and sharpness of reflected light.
  • Determine whether the condition is uniform, patchy, banded, edge-related, or limited to one production batch.
  • Compare suspect areas with an approved reference panel made with the same coating system.
  • Check whether the apparent gloss change is actually haze, texture, dry spray, orange peel, overspray, polishing marks, contamination, blushing, or color variation.
  • Confirm that the surface is clean and at a stable temperature before measuring it.
Observed Pattern Possible Direction Checks to Make
Entire part is too dull Wrong product, mix ratio, reducer, cure, film build, application condition, or contaminated surface. Verify labels, batch numbers, mixing record, product data sheet, thickness, temperature, and cure history.
Broad bands or passes Inconsistent overlap, gun distance, travel speed, wet edge, atomization, or flash between passes. Observe technique and map readings across the spray pattern.
Edges differ from faces Film-build variation, edge spray sequence, overspray, part temperature, or different cure exposure. Compare thickness, application sequence, airflow, and oven profile at edges and broad surfaces.
Patchy or cloudy areas Uneven mixing, flattening-agent distribution, contamination, moisture, solvent entrapment, or substrate absorption. Review agitation, filtration, cleaning, humidity, flash, primer condition, and local texture.
Part-to-part variation Batch change, settling, pot-life progression, operator technique, line speed, film build, or cure variation. Compare time, batch, operator, viscosity, settings, thickness, and cure records.

Common Causes

Material and Mixing

  • Incorrect product, mix ratio, reducer, activator, hardener, or additive.
  • Flattening or matting agents are settled or unevenly dispersed.
  • Material was not stirred or agitated as required during use.
  • Viscosity or material temperature is outside the recommended range.
  • The coating has progressed too far into its pot life.

Substrate and Undercoats

  • Porous or poorly sealed surfaces absorb the coating unevenly.
  • Primer or undercoat is not sufficiently cured.
  • Sanding, surface profile, color, or texture varies beneath the topcoat.
  • Wax, grease, oil, soap, water, silicone, or cleaner residue remains.
  • Repair areas and surrounding original finishes have different holdout.

Application and Film Build

  • Wet-film or dry-film thickness varies across the part.
  • Gun distance, angle, speed, overlap, or pattern changes during application.
  • Some passes are applied wetter or drier than others.
  • Flash times vary or the applicator loses the wet edge.
  • Dry spray or overspray lands on an area that has begun to set.

Environment and Cure

  • Temperature, relative humidity, airflow, or solvent concentration changes during application or cure.
  • The finish cures too slowly, too quickly, unevenly, or outside the specified window.
  • Parts see different oven temperatures or insufficient time at metal temperature.
  • Solvent fumes, combustion products, exhaust, or airborne contamination attack the surface.
  • Water, cleaner, tape, packaging, or handling contacts the film before adequate cure.

A Disciplined Diagnostic Sequence

Gloss is a result, not a root cause. Record the pattern first, then connect that pattern to the process.

  1. Confirm the target. Identify the specified gloss range, measurement geometry, cure age, approved sample, and permitted variation.
  2. Clean carefully. Use only an approved method that will not polish, swell, soften, or alter the coating.
  3. Map the part. Mark measurement locations and record gloss, film thickness, visible texture, and orientation.
  4. Compare process records. Review batch, operator, mix time, agitation, viscosity, pot life, settings, film build, flash, temperature, humidity, and cure.
  5. Check related defects. Look for dry spray, orange peel, haze, blushing, contamination, sanding marks, solvent popping, or incomplete cure.
  6. Run controlled panels. Change one variable at a time and compare the result with the approved standard.

Measuring Gloss Correctly

A gloss meter directs light at a defined angle and measures reflected light near the specular direction. ASTM D523 covers 20-degree, 60-degree, and 85-degree geometries for nonmetallic specimens. The specified geometry and procedure must be followed; readings from different geometries are not interchangeable.

Keep the Measurement Controlled

Calibrate the instrument as directed, use the required geometry, allow the coating to reach the specified cure age and temperature, keep the instrument flat, avoid edges and excessive curvature, use consistent orientation, and record multiple identified locations. Do not average away a meaningful low-gloss patch without also reporting the individual readings and pattern.

Specular gloss does not describe every part of appearance. Surface texture, distinctness of reflected image, haze, color, and viewing conditions can change what an observer sees. A gloss number should therefore be interpreted with visual evidence, an approved sample, and the applicable acceptance requirement.

Liquid Coatings Versus Powder Coatings

In liquid coatings, uneven gloss often follows changes in atomization, solvent balance, wetness, overlap, substrate holdout, flash time, or cure. In powder coating, investigate powder batch and condition, reclaim ratio, material compatibility, film build, electrostatic deposition, part geometry, oven uniformity, and actual time at metal temperature. Some powder formulations are intentionally textured or low gloss; compare them with an approved panel and the powder supplier's instructions.

Correcting Poor or Uneven Gloss

Do not polish until the coating manufacturer permits it. Premature polishing can soften, smear, mark, or permanently change the finish. Minor gloss loss in a fully cured, polishable high-gloss decorative coating may sometimes be corrected by an approved compounding and polishing procedure. Matte, satin, textured, thin-film, protective, and powder finishes generally require different repair methods; polishing may create a shiny spot that is more noticeable than the original defect.

When the defect results from contamination, undercure, incorrect material, uneven film build, substrate absorption, or an unsuitable application, refinishing may be necessary. Before recoating, determine the cause, confirm adhesion and cure, prepare the surface as specified, and verify that the repaired system will still meet thickness and performance requirements.

How to Prevent Gloss Variation

  • Define the acceptable gloss range, geometry, cure age, and reference standard before production.
  • Use the specified coating system, mix ratio, reducer or activator, viscosity, induction period, and pot life.
  • Stir and agitate products containing flattening agents exactly as directed.
  • Prepare and seal the substrate uniformly and allow primers and undercoats to cure properly.
  • Maintain consistent gun setup, distance, angle, speed, overlap, film build, wet edge, and flash time.
  • Control material, air, and substrate temperatures along with humidity and booth airflow.
  • For powder coating, verify actual time at metal temperature and monitor oven uniformity.
  • Protect the finish from fumes, moisture, cleaners, tape, packaging, and handling until adequately cured.
  • Use approved test panels and maintain a documented gloss-measurement plan.

Technical References

Standards and product instructions may be revised. Confirm the required edition and obtain the current complete document from its publisher or coating manufacturer before performing acceptance testing.

Return to the Finish Defect Diagnostic Center

Technical notice: This article provides general educational guidance and does not replace the project specification, coating manufacturer's current product data and safety data, applicable regulations, or qualified inspection and engineering judgment.


Was this article helpful?

Comments:
 

Related Articles
 > Troubleshooting
 > Is your Compressed Air Ruining Your Finish?
 > Is Surface Temperature Affecting Your Finish?
 > Be Your Own Product Finishing Consultant: Audit the Reject Area
 > The 4 M’s of Finishing Problem Solving
 > Paint and Coatings Defects Dictionary: A-B
 > Paint and Coatings Defects Dictionary: C-D
 > Paint and Coatings Defects Dictionary: E-H
 > Paint and Coatings Defects Dictionary: I-M
 > Paint and Coatings Defects Dictionary: N-R
 > Paint and Coatings Defects Dictionary: S-Z
 > Powder Coating Defects Dictionary
 > Finish Defect Diagnostic Center
 > Orange Peel Paint Defect
 > Dry Spray: When Paint Arrives Too Late to Flow
 > Mottling and Clouding
 > When Paint Turns to Powder: Understanding Chalking
 > When the Finish Wears Away: Understanding Coating Erosion
 > Paint Won’t Stick Around: How to Diagnose Fisheyes
 > A Finish Full of Trouble: Diagnosing Coating Craters
 > Small Holes. Serious Trouble: Diagnosing Coating Pinholes
 > Pressure from Within: Diagnosing Solvent Popping
 > Uninvited Guests: Diagnosing Dust, Dirt, and Inclusions
 > The Color That Wouldn’t Stay Buried: Bleeding and Staining
 > When Gravity Wins: Diagnosing Paint Runs and Sags
 > A Skin-Deep Problem: Diagnosing Paint Wrinkling
 > When Paint Pulls Away: Diagnosing Coating Crawl
 > Too Much of a Good Thing: Diagnosing Mud Cracking
 > The Finish That Traveled: Diagnosing Paint Overspray
 > Framed for Failure: Diagnosing Picture Framing in Coatings
 > Under Pressure: What Paint Blisters Are Trying to Tell You
 > When the Finish Lets Go: Diagnosing Peeling and Delamination
 > Coming Apart Piece by Piece: Diagnosing Flaking and Scaling
 > When the Surface Splits: Diagnosing Checking and Cracking
 > The Break You Cannot Afford: Finding Holidays and Discontinuities
 > Rust’s Side Door: Diagnosing Undercutting and Rust Creep
 > Dry Is Not Done: Diagnosing Incomplete Coating Cure
 > When the Color Goes Cloudy: Diagnosing Blushing and Blooming
 > The Invisible Bond Breaker: Diagnosing Amine Blush
 > Where the Color Went: Diagnosing Fading and Color Change
 > When White Turns Wrong: Diagnosing Yellowing and Discoloration
 > After the Drop Dries: Diagnosing Water Spotting and Chemical Staining